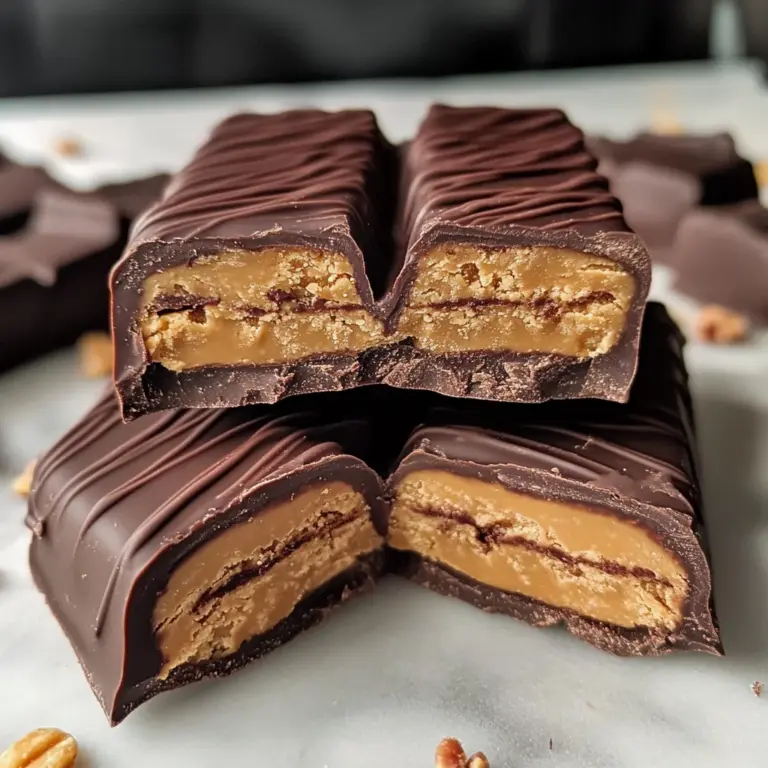
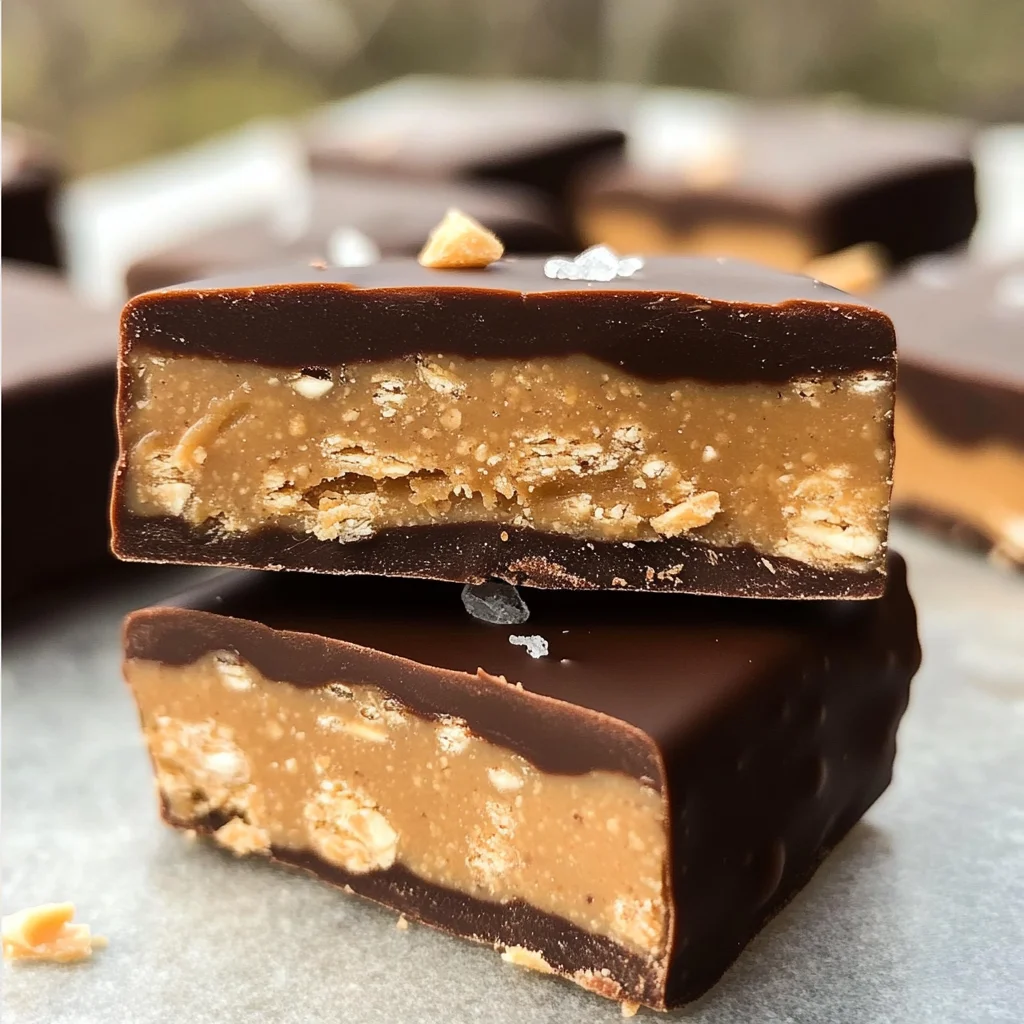
Protein Bars
Protein bars are a fantastic snack for anyone looking to boost their energy and protein intake. This simple recipe is not only easy to prepare, but it also allows for customization to suit various tastes. Whether you need a quick breakfast, a post-workout treat, or a midday snack, these protein bars fit the bill perfectly. With just four ingredients, they’re an ideal solution for busy lifestyles while ensuring you’re fueling your body with nutritious goodness.
Why You’ll Love This Recipe
- Quick and Easy: With only a few simple steps, you can whip up these protein bars in just 5 minutes.
- Customizable Flavors: Experiment with different flavors by adding your favorite mix-ins or toppings to create unique combinations.
- No Baking Required: These no-bake protein bars require minimal effort and time, making them perfect for any skill level in the kitchen.
- Healthy Snack Option: Packed with protein and healthy fats, these bars provide sustained energy without any added sugars or unhealthy ingredients.
- Great for Meal Prep: Prepare a batch ahead of time and store them in the fridge for grab-and-go snacks throughout the week.
Tools and Preparation
Gathering the right tools makes the process of creating your protein bars seamless. Here are the essential items you’ll need to get started on this delightful recipe.
Essential Tools and Equipment
- Mixing bowl
- Spoon or spatula
- Measuring cups
- 8×8 baking pan (or similar)
- Parchment paper (optional)
Importance of Each Tool
- Mixing bowl: A sturdy bowl ensures you can easily combine all ingredients without spills.
- Spoon or spatula: This tool helps you mix thoroughly and scrape down the sides of the bowl for even distribution of ingredients.
- Measuring cups: Accurate measurements are crucial for achieving the best texture and flavor in your protein bars.
Ingredients
This is the best protein bars recipe, with just four ingredients and easy customization options for different healthy flavors!
For the Protein Bars
- 1 1/2 cup peanut butter (or allergy-friendly sub)
- 3/4 cup protein powder (90g)
- 1/4 cup pure maple syrup (or honey)
- 1/2 tsp salt
- 4 oz melted chocolate chips (optional)
How to Make Protein Bars
Step 1: Mix Ingredients
- In a mixing bowl, combine peanut butter, protein powder, pure maple syrup, and salt.
- Stir until all ingredients form a cohesive dough.
Step 2: Shape Your Bars
- You can either shape the dough into individual bars using your hands or press it into a lined 8×8 baking pan.
- If using a pan, smooth down the top to create an even surface.
Step 3: Chill
- Refrigerate the shaped bars until they are firm, usually about 30 minutes.
- Once chilled, cut into desired bar sizes.
Optional Step: Add Chocolate Coating
- If you’d like a chocolate coating, melt chocolate chips in a microwave-safe bowl.
- Stir in some oil if needed for smoother consistency.
- Either spread melted chocolate over the top of the chilled bars in the pan or dip each bar individually before placing them back in the fridge to set.
Enjoy your homemade protein bars as a nutritious snack anytime!
How to Serve Protein Bars
Serving protein bars can be a delightful experience. Whether you enjoy them as a quick breakfast or a post-workout snack, there are various ways to elevate your protein bar enjoyment.
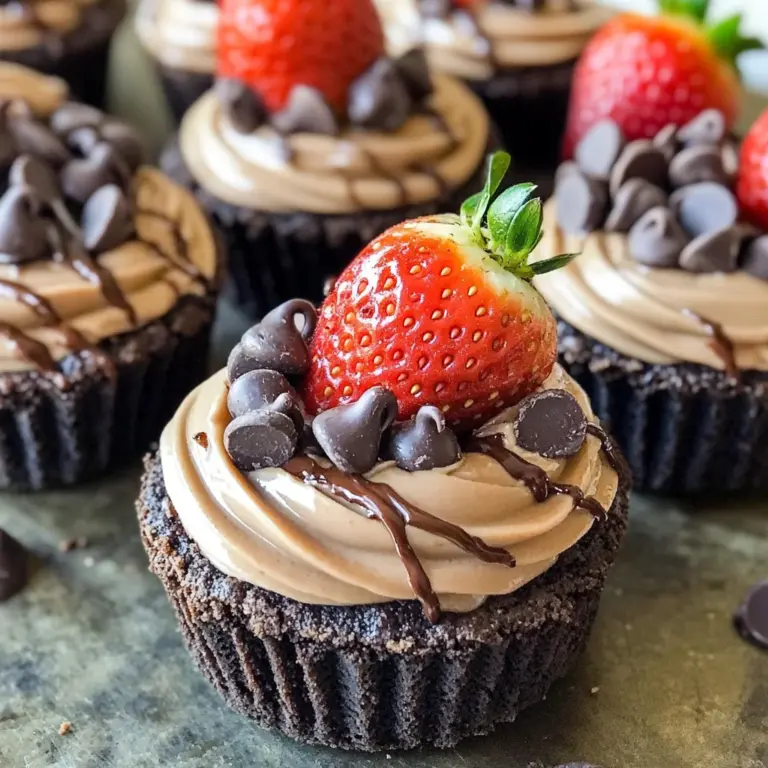
With Fresh Fruit
- Banana Slices: Top your protein bars with fresh banana slices for added sweetness and potassium.
- Berries: Add a handful of strawberries, blueberries, or raspberries for a burst of flavor and antioxidants.
- Apple Slices: Pair with crisp apple slices for a refreshing crunch that complements the bar’s texture.
With Yogurt
- Greek Yogurt: Serve alongside Greek yogurt for an extra protein boost and creamy texture.
- Dairy-Free Yogurt: Use coconut or almond yogurt for a dairy-free option that still adds creaminess.
As a Dessert
- Drizzled with Nut Butter: Drizzle extra peanut butter or almond butter on top for an indulgent touch.
- Chocolate Sauce: Pour melted dark chocolate or carob sauce over the bars for a decadent treat.
On-the-Go Snack
- Wrapped Individually: Wrap each bar in parchment paper for easy grab-and-go snacks during busy days.
- In Lunchboxes: Add them to lunchboxes as a nutritious sweet treat that keeps energy levels high.
How to Perfect Protein Bars
Creating the perfect protein bars is simple with the right techniques. Here are some tips to enhance your homemade bars.
- Bold Flavor Choices: Choose a protein powder flavor you enjoy, as it influences the overall taste of the bars.
- Adjust Sweetness: Modify the amount of maple syrup or honey according to your taste preference to achieve desired sweetness.
- Experiment with Add-ins: Try adding nuts, seeds, or dried fruits for different textures and flavors in your protein bars.
- Chill Thoroughly: Allow your bars to chill completely in the refrigerator before cutting; this helps them hold their shape better.
- Use Quality Ingredients: Opt for high-quality nut butters and organic sweeteners for the best flavor and nutritional value.
- Store Properly: Store leftover bars in an airtight container in the fridge for freshness, or freeze them for longer shelf life.
Best Side Dishes for Protein Bars
Protein bars make an excellent standalone snack, but pairing them with side dishes can enhance your meal. Here are some great options:
- Fresh Fruit Salad: A mix of seasonal fruits adds vitamins and freshness that pairs well with protein bars.
- Veggie Sticks and Hummus: Crisp carrot and cucumber sticks served with hummus provide fiber and healthy fats.
- Nuts and Seeds Mix: A small bowl of mixed nuts offers crunch and additional protein, complementing the bars nicely.
- Chia Seed Pudding: Creamy chia seed pudding can be a nutritious side, rich in omega-3 fatty acids and fiber.
- Smoothie Bowl: A smoothie bowl topped with granola can balance out your meal while keeping it light and refreshing.
- Cottage Cheese with Berries: This combination provides an extra protein hit along with delicious fruit flavors.
Common Mistakes to Avoid
When making protein bars, it’s easy to overlook some details that can affect the final product. Here are common mistakes to watch out for:
- Using the wrong protein powder: Not all protein powders taste the same. Choose a flavor you enjoy to ensure your bars are delicious.
- Skipping the salt: Salt enhances flavor. Don’t leave it out; it balances the sweetness and richness of the bars.
- Not measuring ingredients accurately: Precision is key in baking. Use proper measuring cups and spoons to get the right texture and taste.
- Overmixing or undermixing: Mix until just combined. Overmixing can make your bars tough, while undermixing can leave dry pockets.
- Ignoring customization options: Feel free to experiment with flavors and add-ins! Don’t hesitate to add nuts, seeds, or dried fruits for variety.
Storage & Reheating Instructions
Refrigerator Storage
- Store protein bars in an airtight container.
- They will last about 1 week in the fridge.
Freezing Protein Bars
- Wrap individual bars in plastic wrap or foil.
- Store them in a freezer-safe bag or container for up to 3 months.
Reheating Protein Bars
- Oven: Preheat your oven to 350°F (175°C). Place bars on a baking sheet for about 5-10 minutes until warm.
- Microwave: Heat one bar at a time for about 15-20 seconds until soft.
- Stovetop: Place bars in a non-stick skillet over low heat, flipping occasionally until warmed through.
Frequently Asked Questions
Here are some commonly asked questions about making protein bars:
Can I use different nut butters?
Yes! You can substitute peanut butter with almond butter or any allergy-friendly alternative.
How do I customize my Protein Bars?
Feel free to add ingredients like chocolate chips, nuts, or dried fruit for extra flavor and nutrition.
Are these Protein Bars gluten-free?
Yes, as long as you use gluten-free protein powder and other certified gluten-free ingredients.
How long do homemade Protein Bars last?
They typically stay fresh in the refrigerator for about one week and up to three months if frozen.
Final Thoughts
These protein bars are not only simple to make but also versatile. With just four main ingredients, you can easily customize them to fit your taste preferences. Whether you need a quick breakfast or a post-workout snack, give this recipe a try!
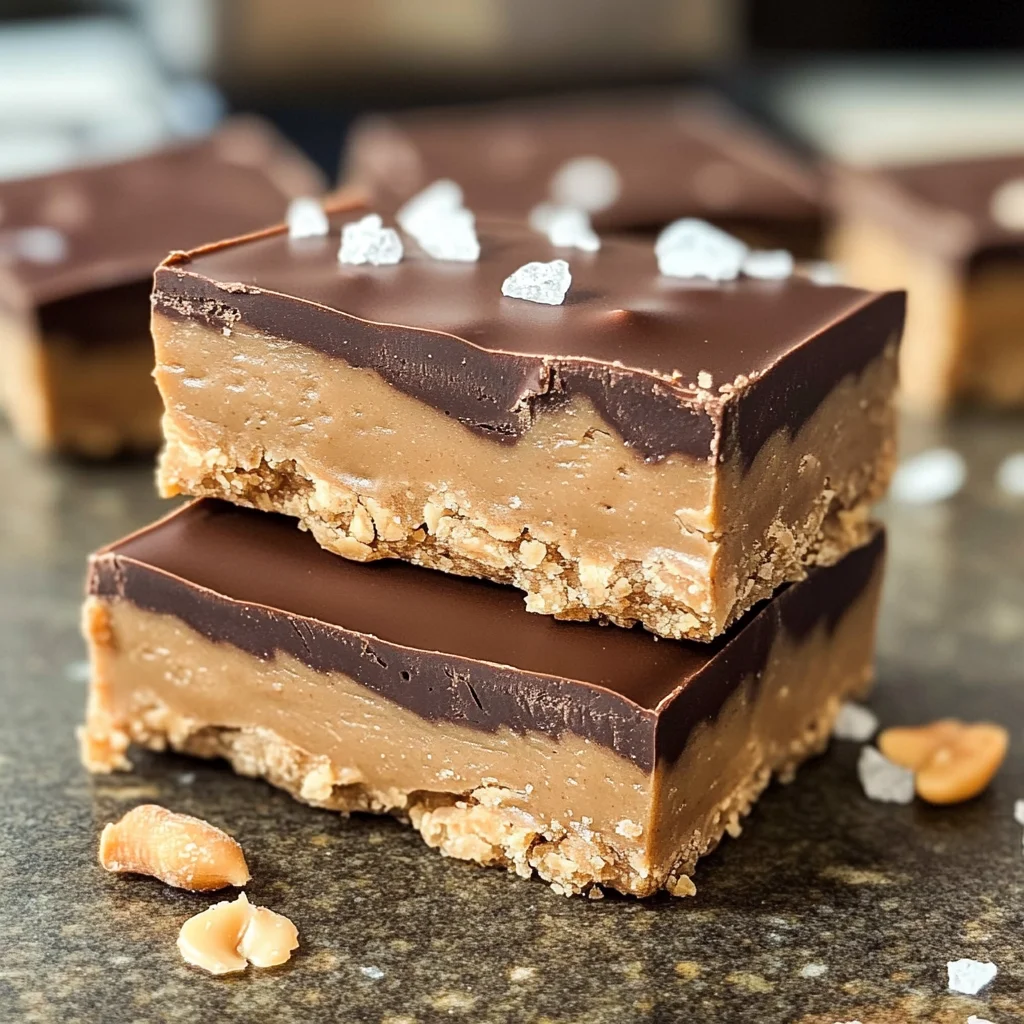
Peanut Butter Protein Bars
Protein bars are a fantastic way to fuel your day with nutritious energy, whether you’re heading out for a workout or need a quick snack. This no-bake recipe combines just four simple ingredients to create delicious bars that can be tailored to your taste. Whip these up in just five minutes and enjoy the satisfaction of knowing you’re indulging in a healthy treat without added sugars or unhealthy fats. Perfect for meal prep, these protein bars offer convenience while keeping your energy levels high throughout the week.
- Prep Time: 5 minutes
- Cook Time: None
- Total Time: 0 hours
- Yield: Approximately 12 servings 1x
- Category: Dessert
- Method: No-bake
- Cuisine: American
Ingredients
- 1 1/2 cups peanut butter (or alternative nut/seed butter)
- 3/4 cup protein powder
- 1/4 cup pure maple syrup (or honey)
- 1/2 tsp salt
- Optional: 4 oz melted dairy-free chocolate chips
Instructions
- In a mixing bowl, combine peanut butter, protein powder, maple syrup, and salt. Mix until well combined into a dough.
- Shape the mixture into individual bars or press it into a lined 8×8 baking pan for even thickness.
- Refrigerate for approximately 30 minutes until set, then cut into desired bar sizes.
- For an extra treat, melt chocolate chips and either drizzle over the top or dip each bar before returning them to the fridge to harden.
Nutrition
- Serving Size: 1 bar (approximately 45g)
- Calories: 190
- Sugar: 5g
- Sodium: 130mg
- Fat: 10g
- Saturated Fat: 2g
- Unsaturated Fat: 8g
- Trans Fat: 0g
- Carbohydrates: 16g
- Fiber: 3g
- Protein: 10g
- Cholesterol: 0mg